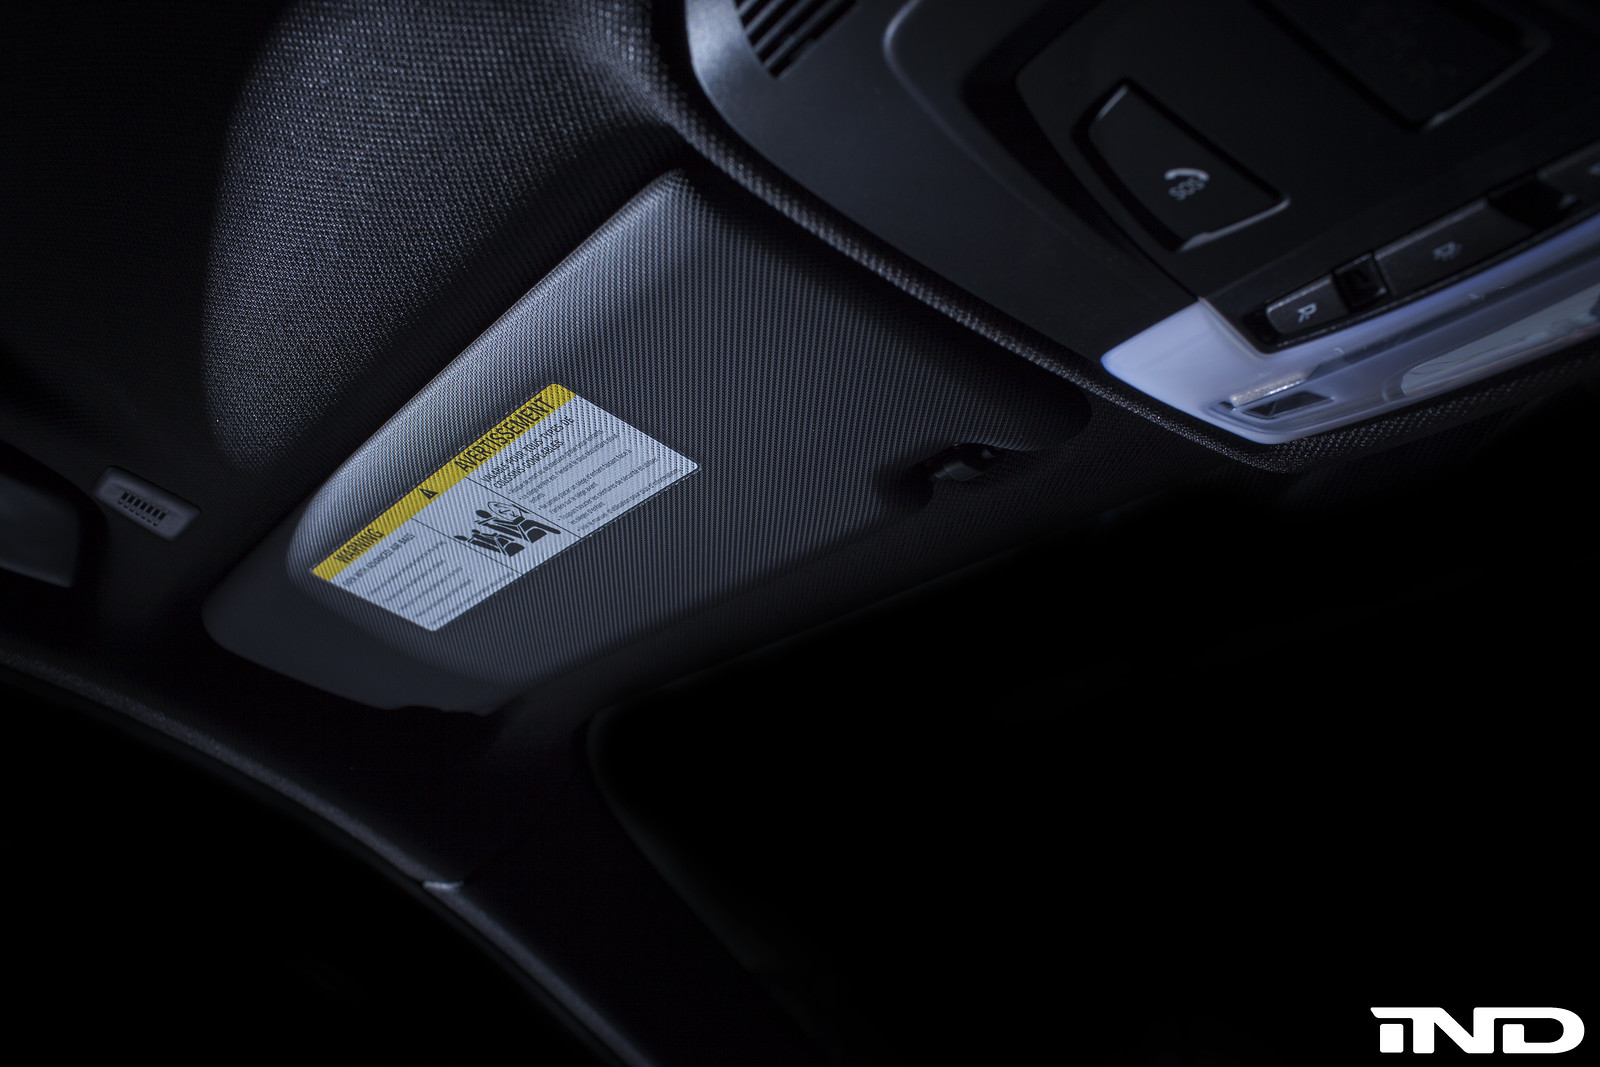
As BMW enthusiasts for nearly 2 decades it is no secret that our European counterparts are privy to some rather unique parts. Although a good portion of this is hometown support, some of these parts are simply a byproduct of regulation. The European visors are one of these products and offer a clean and cohesive look for the F8X interior. Gone is the blinding white, yellow, and black text staring you down in the morning. Below is a DIY guide for those looking to replace the unsightly visors.
These visors are available for purchase through our site. We will keep an eye on this thread for any questions, but we are also available via phone or email.
http://ind-distribution.com/ind/cate...-sun-visor-set
Email:
info@ind-distribution.com
Phone: 866-963-4520 (Local 847-963-4520_
IMPORTANT! IND is not responsible for compliance. This is a European TUV approved product. Please check your state and federal motor vehicle compliance laws.
Tools required:
Step 1:
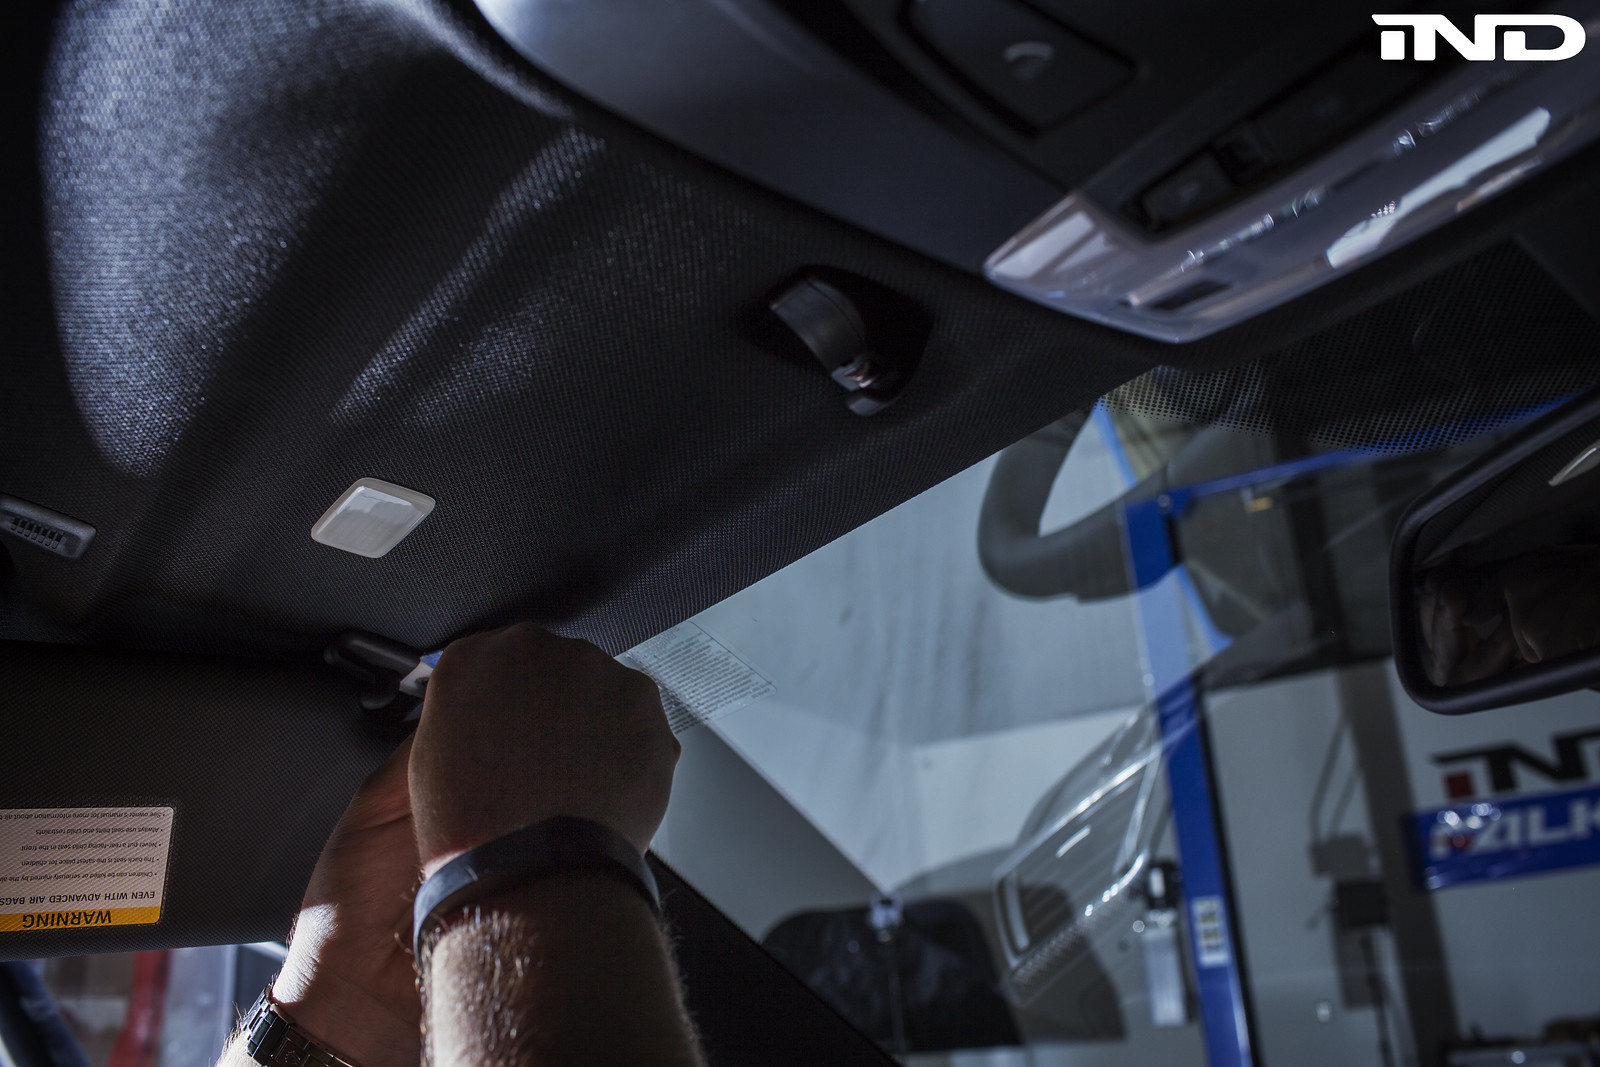
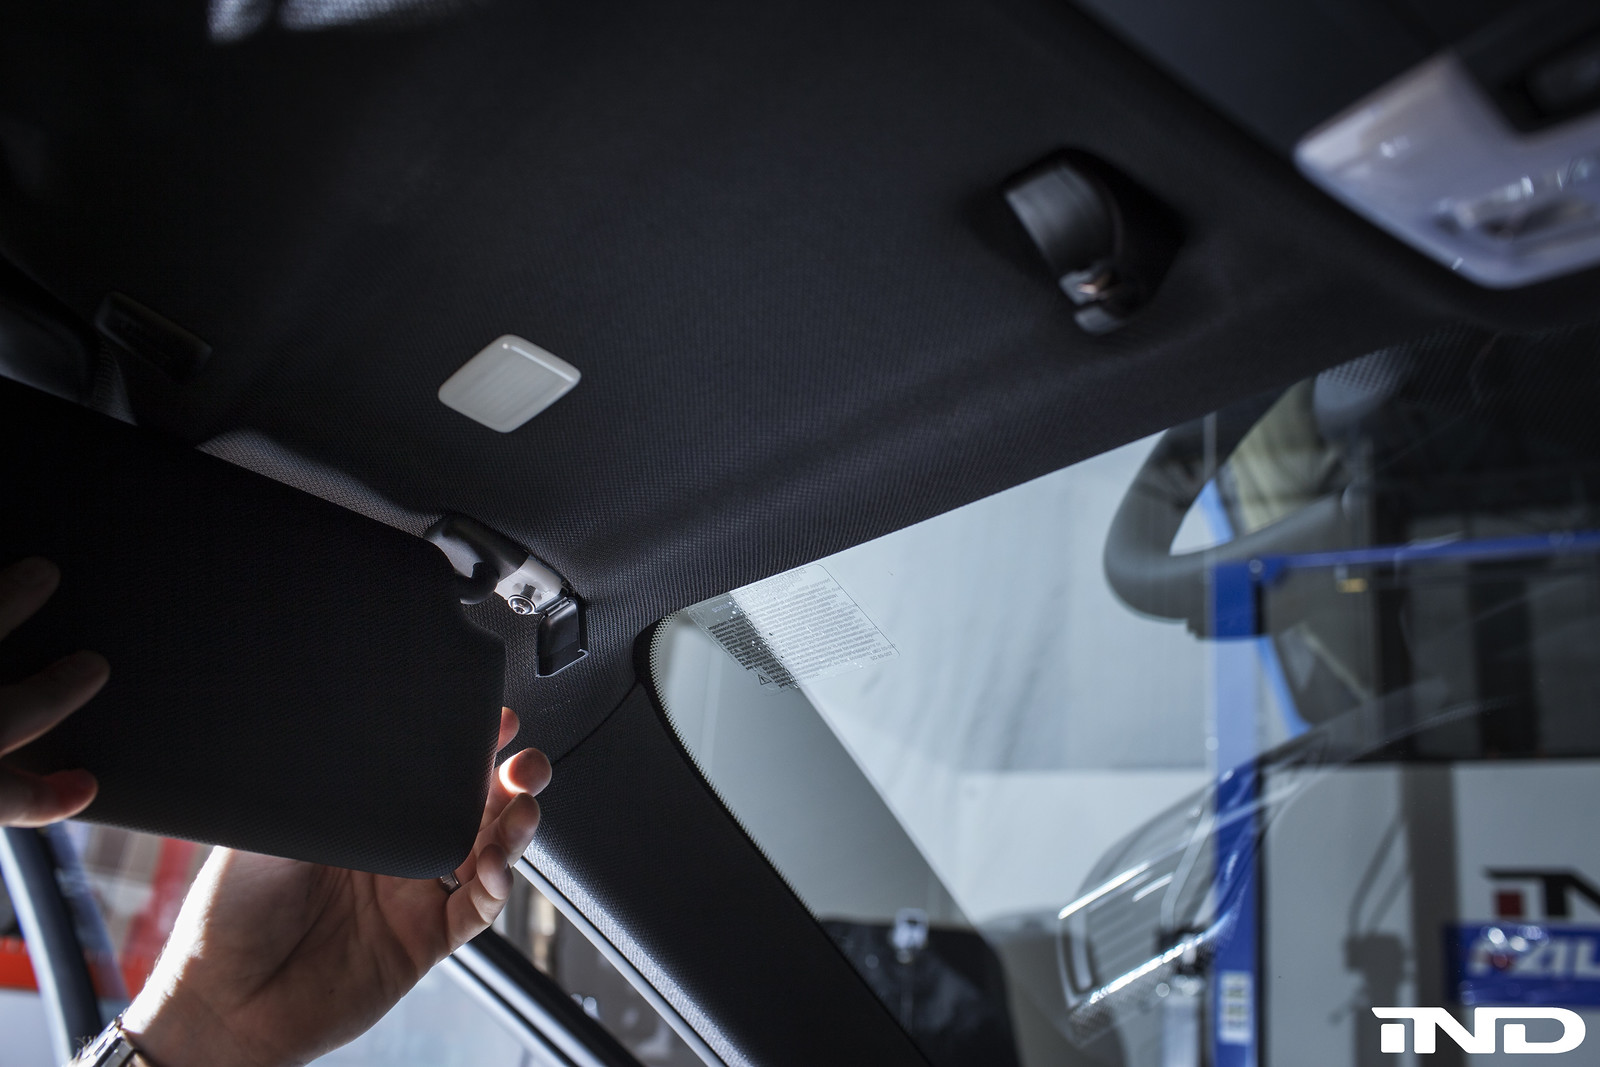
Move sun visor to side allowing access to the mounting point. The visor is held in place by a single Torx25 screw as well as the PnP connector for the vanity light. Remove the plastic cover with a nylon prybar or interior trim tool.
Step 2:
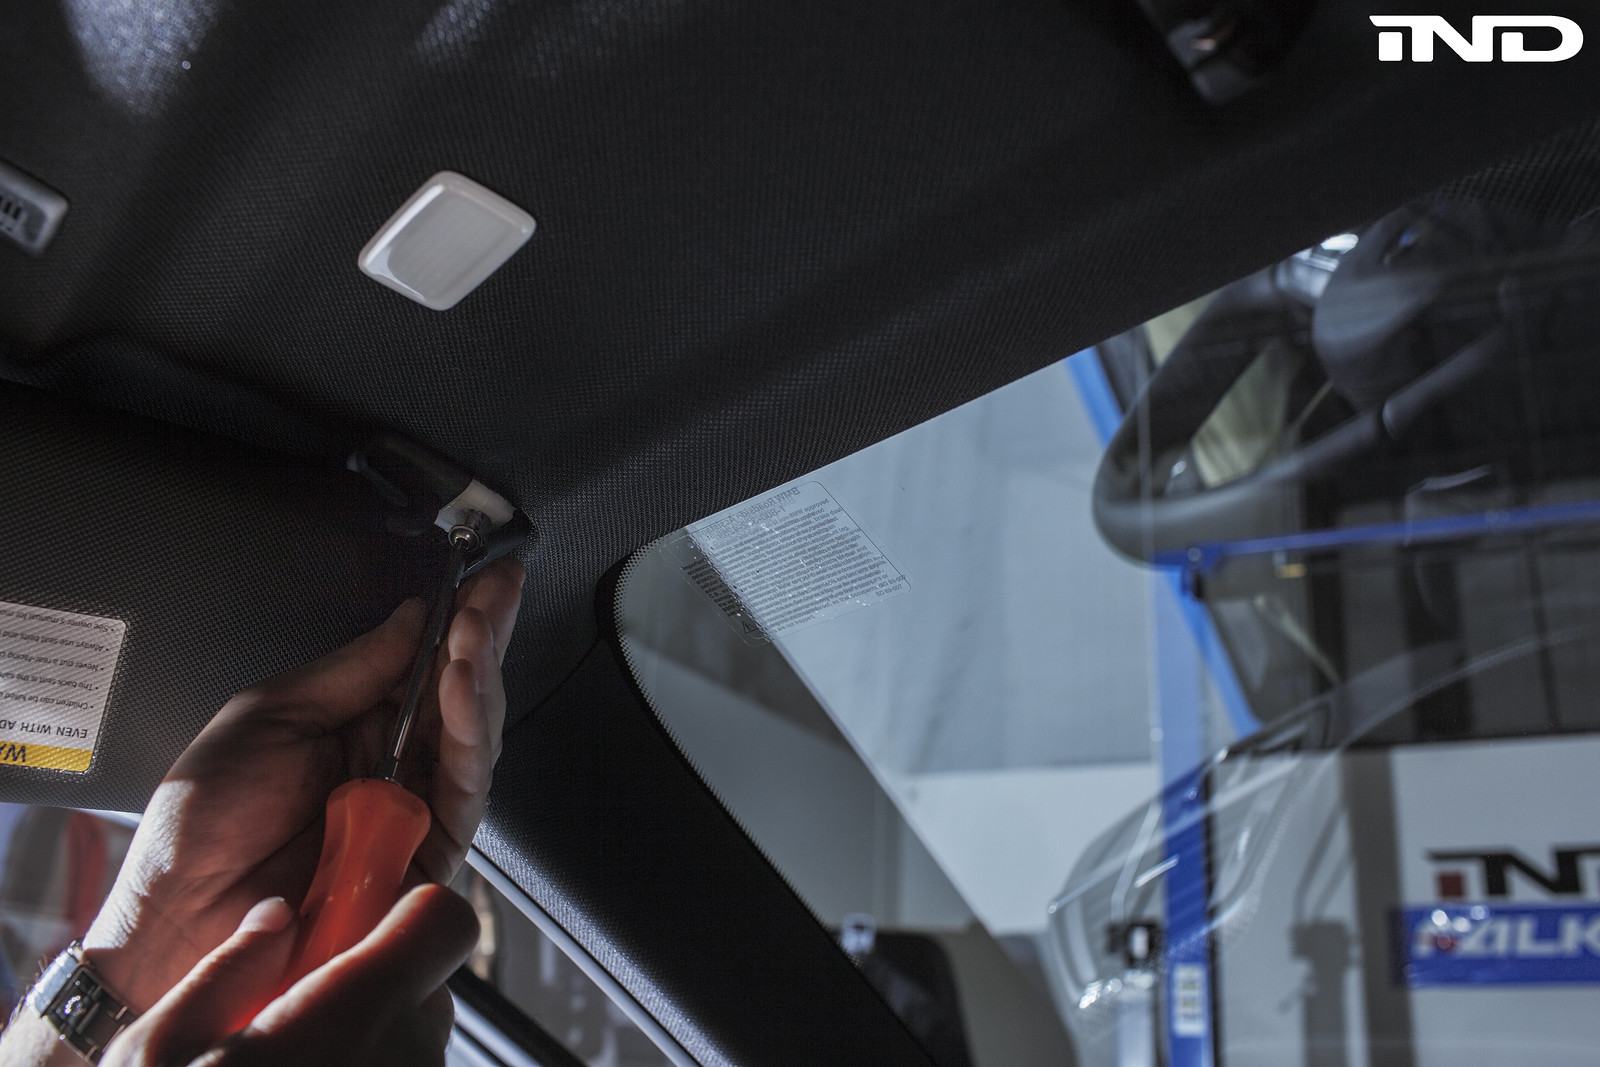
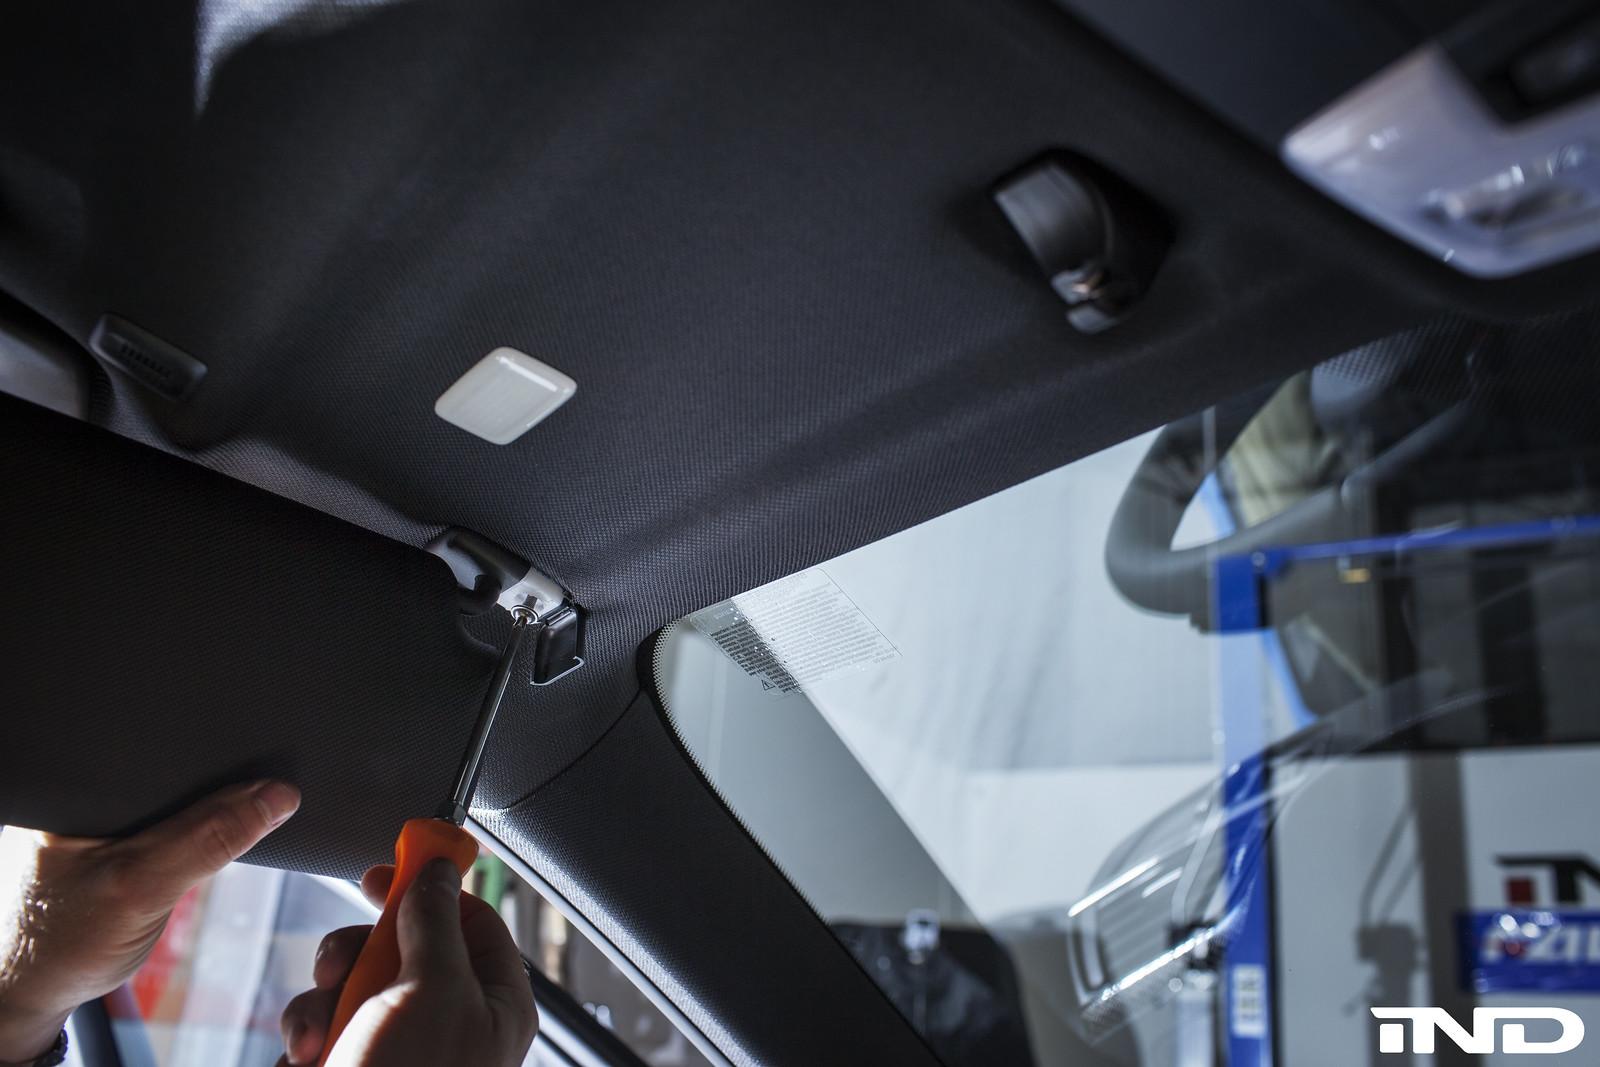
Now that the Torx25 screw is visible simply remove this screw.
Step 3:
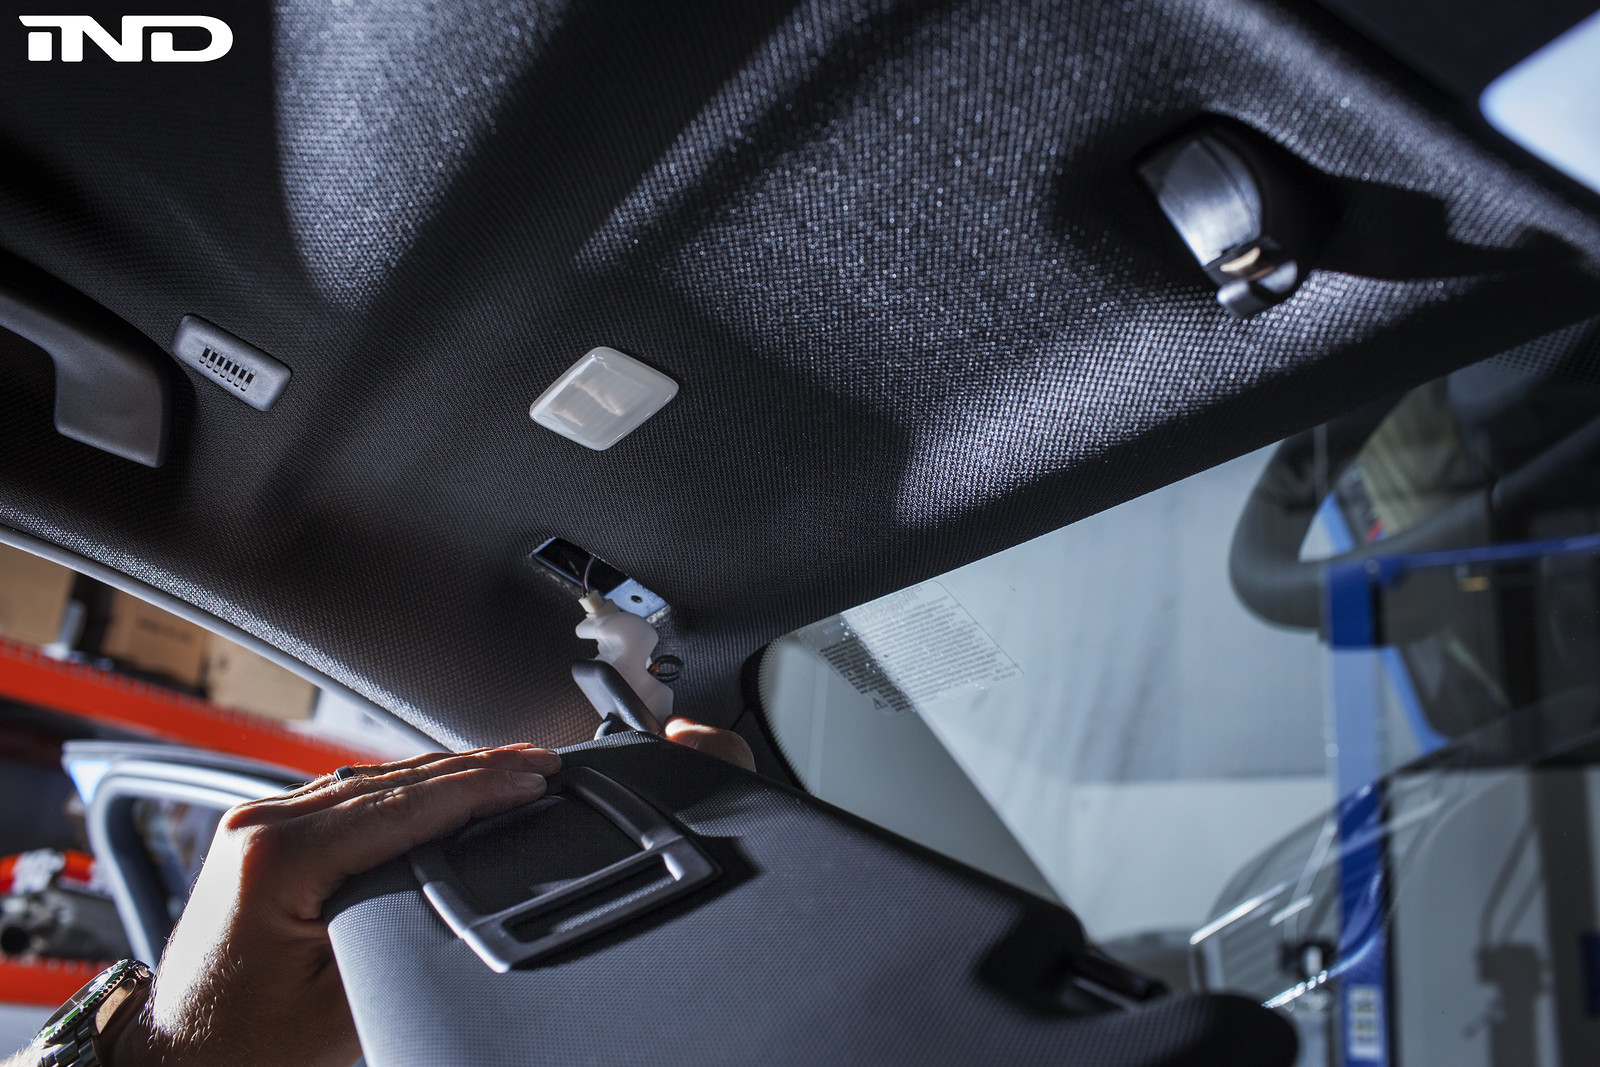
Carefully remove visor from the headliner. Upon removing the visor you will notice the PnP connector, disconnect this piece from the visor.
Step 4:
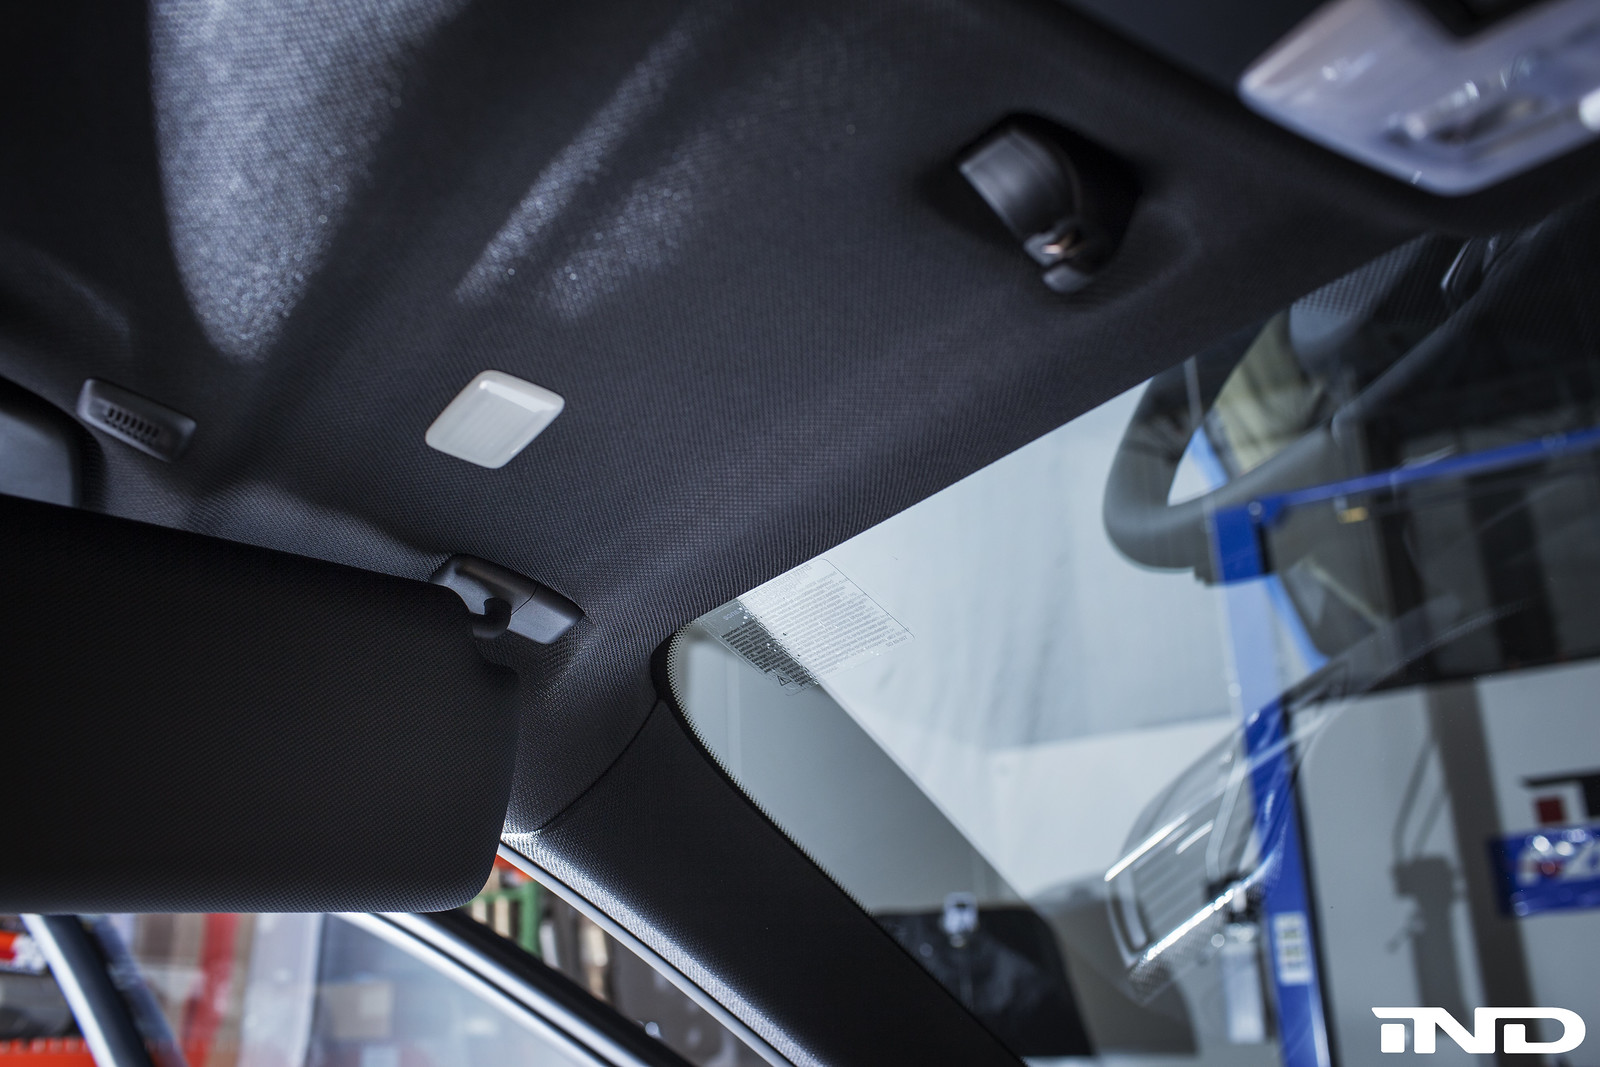
Reverse the installation and enjoy the clean European visors. No more glaring air bag logo.