

|
|
|
|
 |

|
 |
BMW Garage | BMW Meets | Register | Today's Posts | Search |
 |

|
BMW 3-Series (E90 E92) Forum
>
DIY E92 interior trim removal
|
 |
| 10-09-2014, 08:54 PM | #1 |
|
Major
 
544
Rep 1,107
Posts |
DIY E92 interior trim removal
Thanks to photobucket and their greedy @$$ gouge, I have updated this thread with attached photos in the same order as each stage of this DIY guide!
The trim pieces in my car were brushed aluminium and as well-documented elsewhere, this trim is quite soft and prone to scratch and dent damage. I decided on having these pieces vinyl wrapped firstly to hide the damage as well as give the interior a whole new look. My web searches found me a couple of DIYs but these were for E90s and not E92s. This prompted me to put this information together here. I have used photos I took after the trim pieces were removed as it is easier to see the attachment points this way. I also found the existing DIYs did not mention a couple of useful hints to make the process easier, which I will note here for anyone else attempting this. It is a relatively easy process and the only special tool I used was a plastic/nylon non-marking interior trim removal tool which is basically similar to a flat headed screwdriver. I know some DIYs show an actual screwdriver being used but that did not appeal to me. One possible home-made solution could be something similar fashioned out of a toothbrush handle. Front door trim An easy one to begin with. Start at position (1) by inserting the tool under the trim piece and gently increasing pressure towards you until the first lug pulls free. Work towards the front of the door (2). When the trim is out sufficiently, get your fingers under the trim and slowly work it loose, popping each lug out as you work towards the door hinge side. Avoid putting a bend in this long trim piece. Once the last of 8 lugs are free, the trim will come away. Repeat for other door. Rear trim Exactly the same as the front door, except it is easiest to start at the door opening side (1) and work your way back (2). Repeat for other side. Rear tray and vent Gently work the removal tool under the trim at these two points (1). It lifts fairly easily and once you have a sufficient gap under the trim, use your fingers to gently pull the trim piece upwards (2), working to the front. Be careful not to pull too far as there is a wire connection to the vent control unit which you will need to unplug. The tray and vents come away with the trim piece and these are separate pieces that are removed from the trim with a torx screwdriver. Long dash trim The trickiest piece of all. Start at position (1) by the START button, inserting the tool under the trim piece and slowly work your way towards the passenger side (2) and the lugs will come free as you go. Note that the button and vents are attached to the trim. Continue until you come to the last lug (3). Here, it is important to pull towards you and at the same time slide left to clear the metal clip (circled in photo). If you don’t slide left as you pull, you could break the lug off the trim. Not good. The START button (4) will need to be disconnected from the ribbon wire (note it is reconnected in the photo); and a pair of long-nosed pliers is needed to disconnect the two plugs from the DSC/Hazard switch unit (5). The trim is now free; the centre vents, DSC/Hazard switch unit and START button are all attached to the trim piece. After the trim piece is out, the START button is very easily removed from the trim by depressing the two push-clips. The centre vents and DSC/Hazard switch unit are separated from the trim piece after two 8 mm nuts are removed and the vents unclipped using the trim removal tool. Hint: The whole DSC/Hazard switch unit can be pushed out of the vent assembly from behind (see photo below) which will make reconnecting the unit a simple process when you are refitting the trim back onto the car. I had trouble removing the switch unit while it was in fitted in the dash – I suspect it is a very tight fit. Short dash trim Start at position (1) by the steering column, inserting the tool under the trim piece until the first lug pulls free. Work towards the door side (2). Note that the vent is attached to the trim. Just like the long dash trim piece, at the second of two lug attachment points (3), it is important to pull towards you and at the same time slide right to clear the metal clip (circled). Separate the vent from the trim carefully with your trim tool. Centre console Note you do not need to remove the gear knob and boot (at least not for a manual). Detach the boot from the console by lifting the boot retainer at one corner and work your way right around the edges to free the boot. Grab the trim piece from inside the boot opening (1) and pull it free of the console. Work your way to the rear (2), slowly pulling up as you work back towards the arm rest/storage compartment. Then work towards the front (3) while lifting up. You will need to clear the front edge of the trim by pulling the piece rearwards and up (4). Not too far though, as you will need to disconnect the wiring connectors for the front tray light and iDrive controller. The boot will pass through the opening in the trim for removal. The front tray and controller are attached to the trim piece and these are removed with a torx screwdriver. That’s it – all your trim pieces are out! I hope this is useful to anyone attempting this; and good luck with it.
__________________
 Last edited by JJH; 07-04-2017 at 02:32 AM.. |
| 10-09-2014, 09:30 PM | #3 |
|
Captain

97
Rep 812
Posts
Drives: E91 335i, B5 RS4, F31 330i
Join Date: Jun 2014
Location: Sydney, Australia
|
Thanks, this is great.. I have been wanting to do this with carbon vinyl wrap but was worried about how to get the trims off.
Does anyone also know good place to buy the vinyl? Quite a few places on ebay and online but quality appears to vary. So are you going show us your finished product  Last edited by donR; 10-09-2014 at 10:00 PM.. |
|
Appreciate
0
|
| 10-10-2014, 02:38 AM | #5 |
|
Lieutenant Colonel

2690
Rep 1,977
Posts
Drives: 2020 M2C HS & Ferrari Roma
Join Date: Sep 2014
Location: Sydney, Australia
|
Thanks for the write up, I am definitely going to use this soon.
going all black for my interior  ! ! |
|
Appreciate
0
|
| 10-10-2014, 06:55 AM | #6 |
|
Lieutenant
15
Rep 457
Posts |
That is a nice DIY JJH. Thanks for taking the time to write this up.
You should put this in the DIY section of the forum.
__________________
2008 E92 335i M-Sport | Sapphire Black | Sunroof | Creme Beige | Poplar Grey | Logic 7 | 6AT | 19" AG M359's | Michelin PS4S | LUX V3 | MHD V5 E40 | Steve AZ Walbro inline | Vishnu DCI | BMS CP | AR Design Catless DP's | Forge DV's | Helix IC | (Stock Cat. back) |
|
|
Appreciate
0
|
| 10-12-2014, 08:24 PM | #8 | |
|
Major
544
Rep 1,107
Posts |
Thanks guys, I am glad the DIY will be of some use out there!
Quote:
__________________
|
|
|
Appreciate
0
|
| 10-13-2014, 05:56 AM | #10 |
|
Major
129
Rep 1,382
Posts |
I don't quite get how to take of the central console trim.
I tried to pull the gear knob and boot up, but it seems like is am going to break it... Do I need to use the tool to insert it into the edge (between the leather and the black colour plastic) to release the retainer? |
|
Appreciate
0
|
| 10-13-2014, 05:40 PM | #11 | |
|
Major
544
Rep 1,107
Posts |
Quote:
__________________
|
|
|
Appreciate
0
|
| 10-14-2014, 01:17 AM | #12 | |
|
Major
129
Rep 1,382
Posts |
Quote:
 Thanks for clarifying. |
|
|
Appreciate
0
|
| 11-23-2015, 10:28 PM | #14 |
|
Brigadier General

541
Rep 3,131
Posts
Drives: 2011 335i e92 DCT
Join Date: Sep 2015
Location: Australia, NSW
|
Great guide mate!
 This makes me feel more confident in attempting this myself. Does anyone have any experience using this wrap by CarCraze Australia 4D Gloss Black Carbon Fibre Wrap 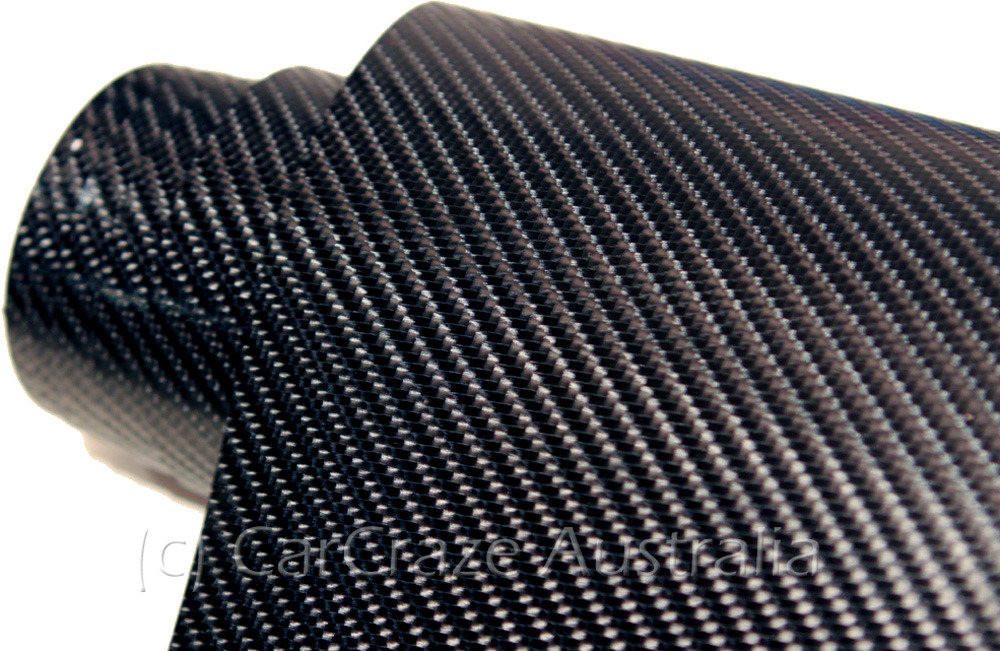 5D Deep Gloss Carbon Fibre Wrap  I like the look for the 5D gloss, I want a glossy looking carbon interior rather than the textured, flat colour look.
__________________
/ MHD Stage 2+ / AR CATLESS DP / PE MOD 4 INCH TIPS / BMR FMIC / K&N DROP IN / BMS CP / |
|
Appreciate
0
|
| 11-24-2015, 01:37 AM | #15 | |
|
Major General
898
Rep 6,285
Posts |
Quote:
It's quite convincing the wrap, but when you put it side by side against an M3 with a genuine cf roof it unfortunately isnt anywhere near as nice ") So in a nutshell you wont be able to wrap your trim pieces with it, I feel your pain as i hate the low gloss 3M cf style wrap also... |
|
|
Appreciate
0
|
| 11-24-2015, 05:33 AM | #16 |
|
Brigadier General
541
Rep 3,131
Posts
Drives: 2011 335i e92 DCT
Join Date: Sep 2015
Location: Australia, NSW
|
Thanks DR J,
Good info right there. I might stick with 3M from super cheap then, I went in today to look at it. I have seen those roof snaps before, it looks really good. Shame it can't be done on the interior trim. I have also tried to source replacement carbon fibre trim prices but no one has them for right hand drive . I know it would be expensive but it's something we look at the most each day and in my opinion it would be worth the cost for replacement trim pieces. |
|
Appreciate
0
|
| 12-10-2015, 11:25 PM | #17 |
|
Brigadier General
541
Rep 3,131
Posts
Drives: 2011 335i e92 DCT
Join Date: Sep 2015
Location: Australia, NSW
|
Anyone know how to remove the trim around the CD slot / 8 lower buttons.
I just wiped it with an alcohol wipe and it bleached it white just to the right of the left / right buttons there.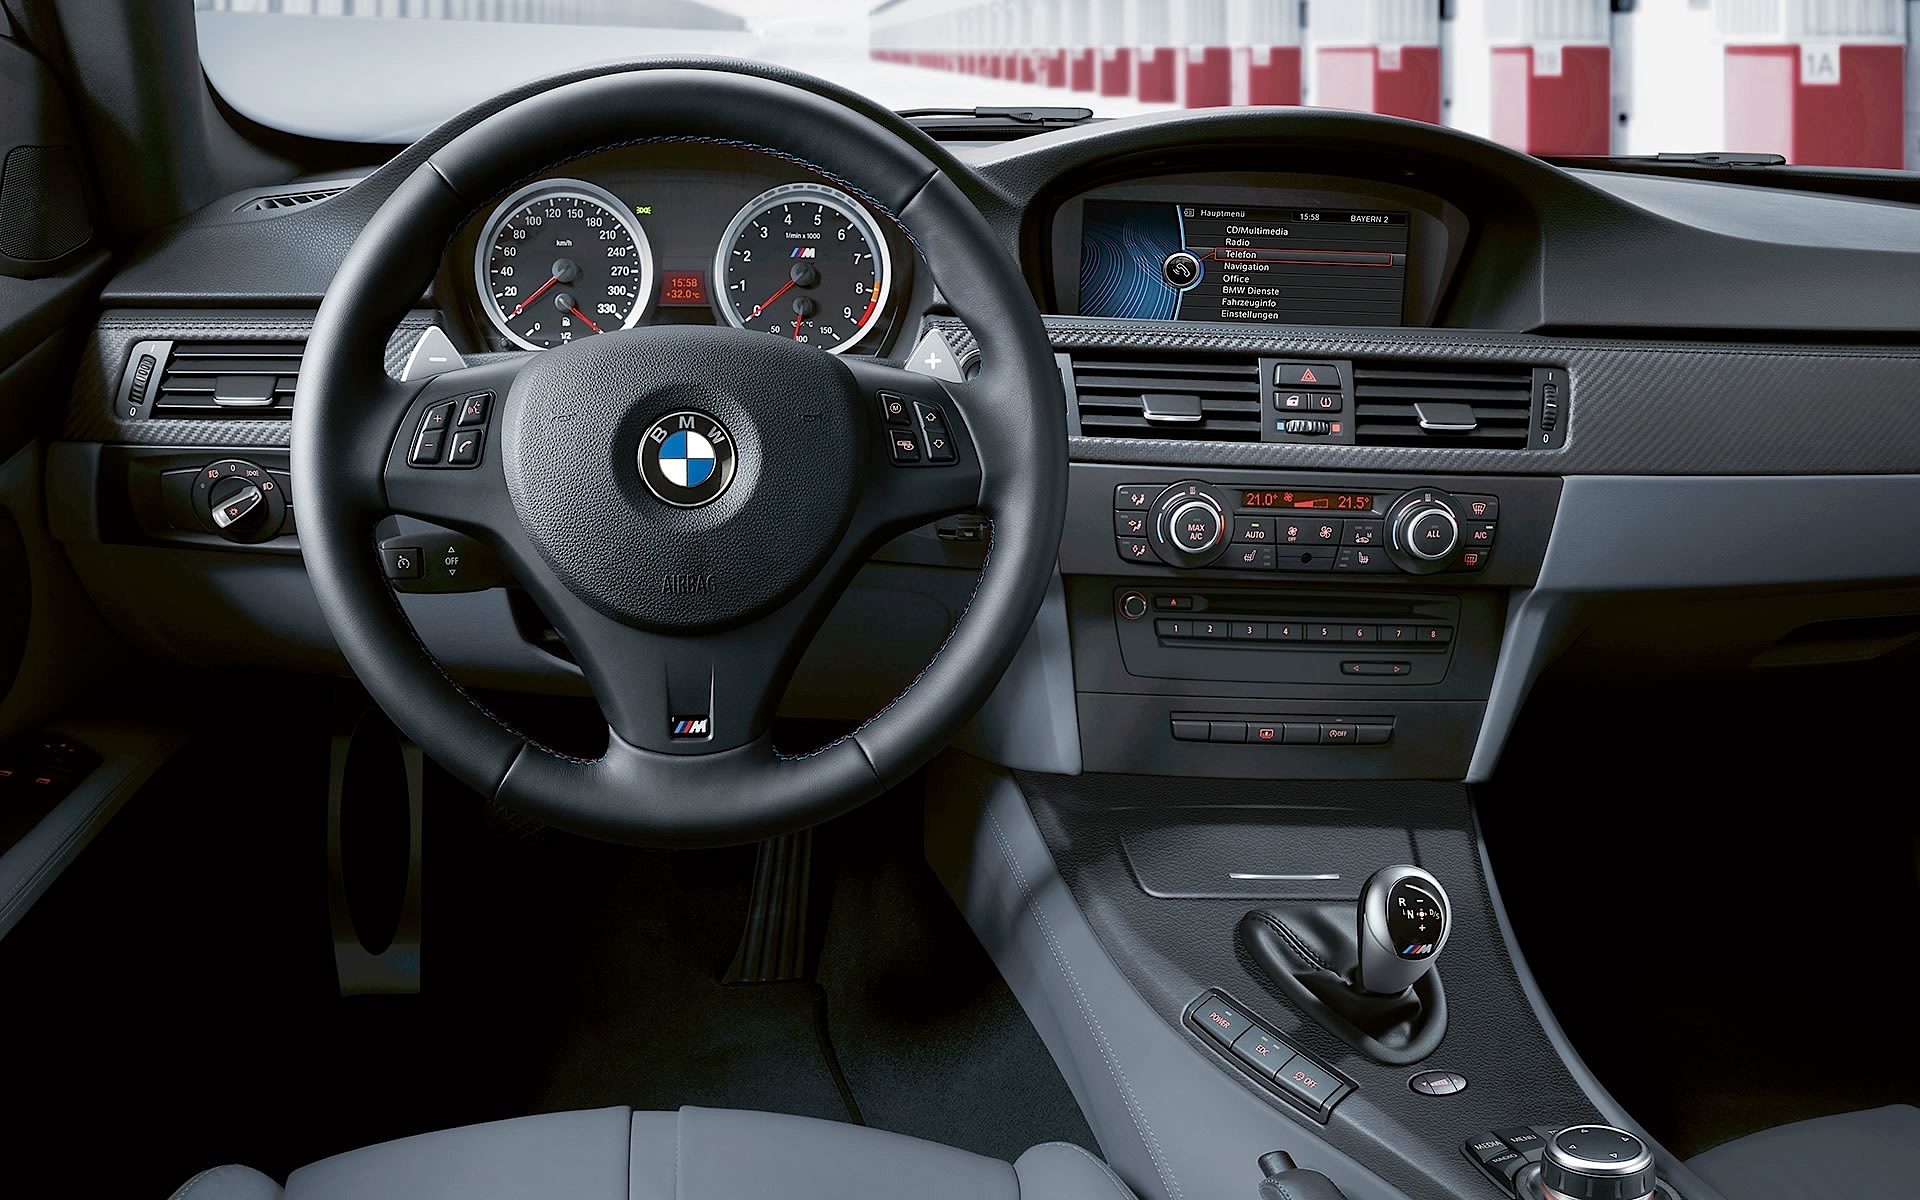
__________________
/ MHD Stage 2+ / AR CATLESS DP / PE MOD 4 INCH TIPS / BMR FMIC / K&N DROP IN / BMS CP / |
|
Appreciate
0
|
| 12-13-2015, 02:31 PM | #18 |
|
Lieutenant
73
Rep 455
Posts |
you need to pull out the center trim piece, pull the hvac (aircon buttons).
From there summon your hulk ability (since you're going to replace it) and slip in your index finger down the gap on the side (palm facing you) and pull towards with some force. Repeat on the other side. There are 2 rods holding it and they are situated close to the middle of the piece. |
|
Appreciate
0
|
| 12-14-2015, 04:08 AM | #19 |
|
Brigadier General
541
Rep 3,131
Posts
Drives: 2011 335i e92 DCT
Join Date: Sep 2015
Location: Australia, NSW
|
Thanks kookie
, I ended up giving it a rub with armorall then put some silicon based tyre glow over the area, can't see it anymore. |
|
Appreciate
0
|
| 02-22-2016, 06:59 PM | #20 |
|
Brigadier General
541
Rep 3,131
Posts
Drives: 2011 335i e92 DCT
Join Date: Sep 2015
Location: Australia, NSW
|
Bumping this, I used it yesterday, Don't want it to disappear into oblivion!
__________________
/ MHD Stage 2+ / AR CATLESS DP / PE MOD 4 INCH TIPS / BMR FMIC / K&N DROP IN / BMS CP / |
|
Appreciate
0
|
 |
| Bookmarks |
|
|


