

| 01-09-2015, 04:49 PM | #1 |

1767
Rep 7,651
Posts |
IND | 3D Design Front Lip DIY Guide
 3D Design Front Lip DIY Before we begin, I should disclose that all 3D Design kits include paper install instructions courtesy of 3D Design Japan. Also, the last thing IND or 3D Design wants is for the client to damage the piece while attempting a DIY install. As a result, if anyone feels uncomfortable with the install, please seek the help of your local body shop. With these disclosures out of the way, lets get down to business. Installing the front lip requires additional clearance on the underside of the vehicle. Regardless of your technique for increasing clearance, hydraulic lift or jack with jack stands, please be sure to follow proper operational instructions. Tools required:
Step 1: Now that the front of the vehicle is safely raised, you will see four 8mm bolts in the center of the bumper. Remove these 4 bolts with your 8mm socket wrench. Step 2: This is where an extra set of hands makes things much easier. Line the 3D Design front lip with the four holes in the bumper. Step 3: Install the four 8mm screws, but do not completely tighten. The screws being a little loose will provide a tiny bit of slack, which makes the next step much easier. Step 4: Your 3D Design front lip install pack will contain 12 self-tapping screws. Using the Philips screw driver or drill bit, begin to install the screws into the bumper. There is no particular order, but our technicians start from the outside in. The screw locations are marked with 10 red circles and 2 red arrows in the below photo. Step 5: Now that the self-tapping screws are installed, go back and ensure the four 8mm bolts are completely tightened. ENJOY   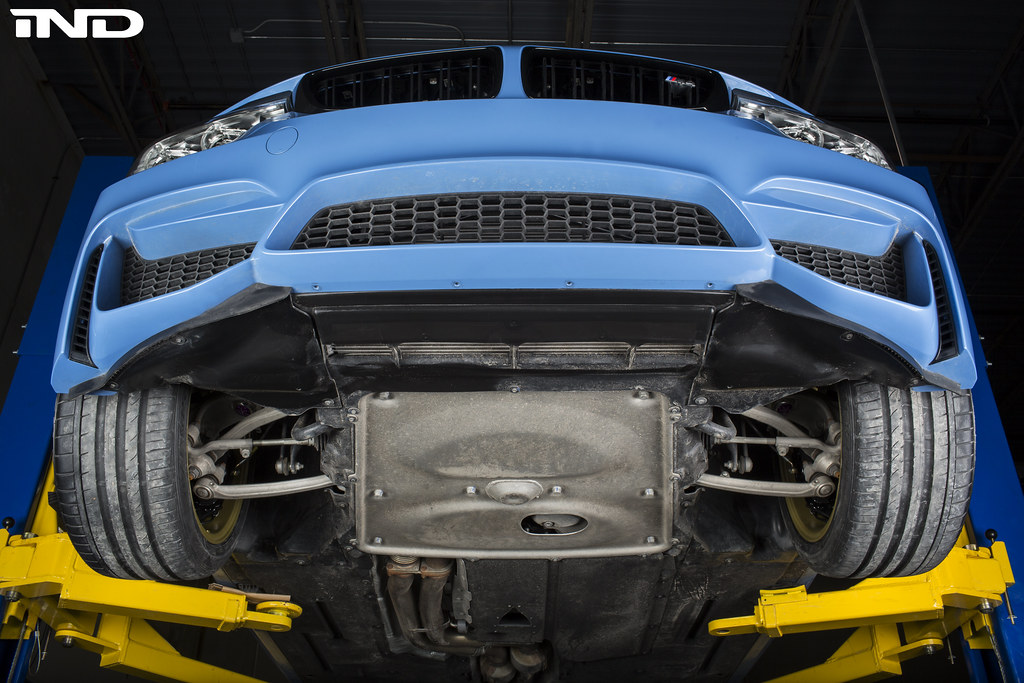 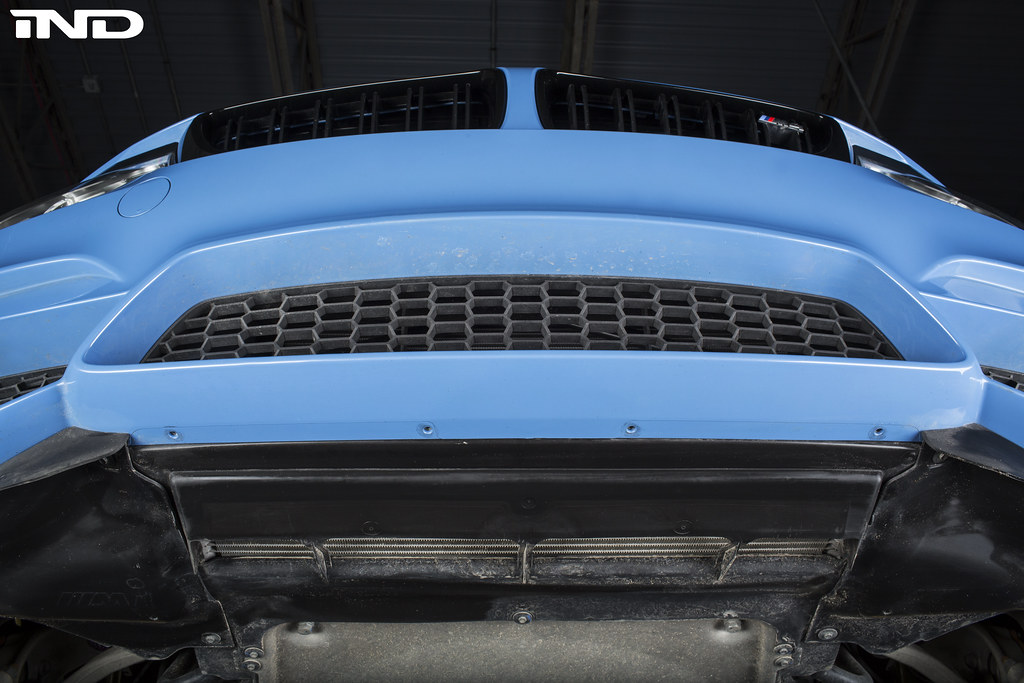 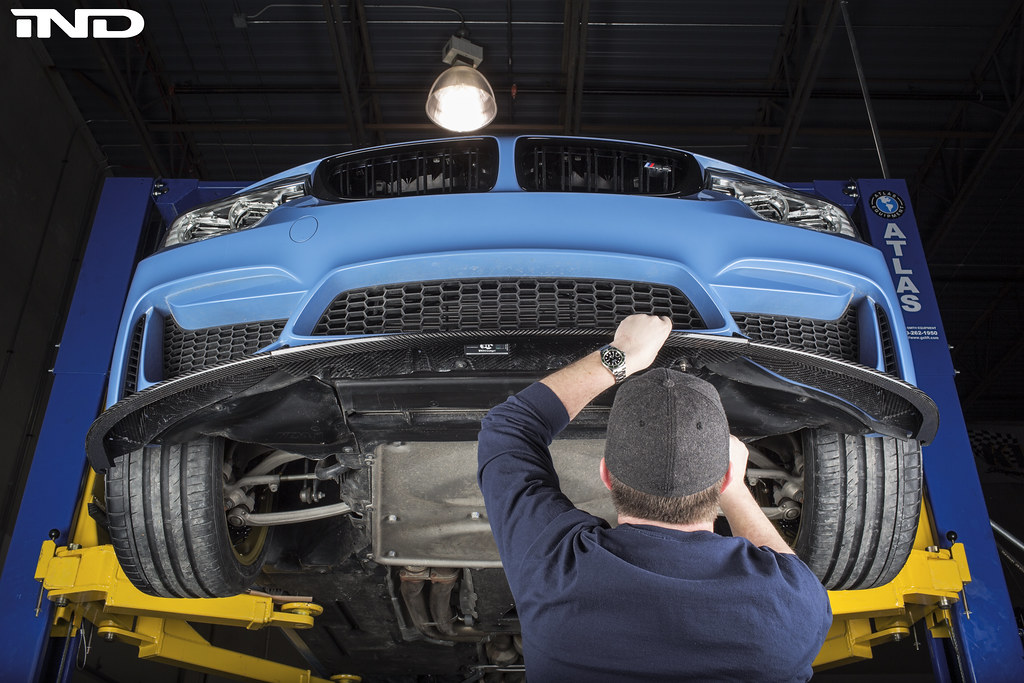  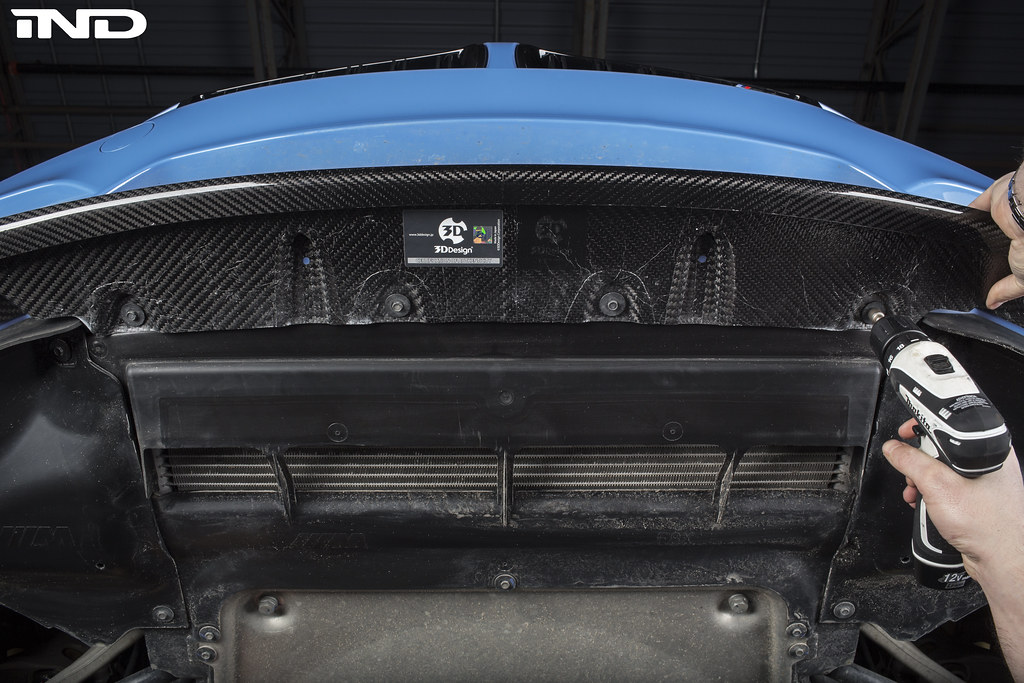 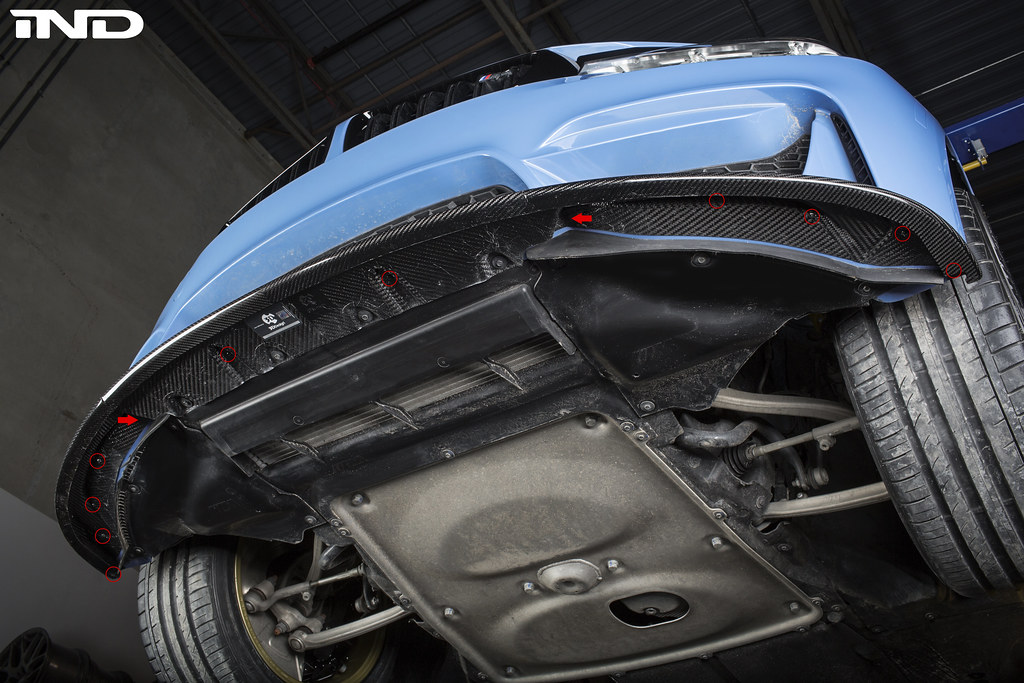  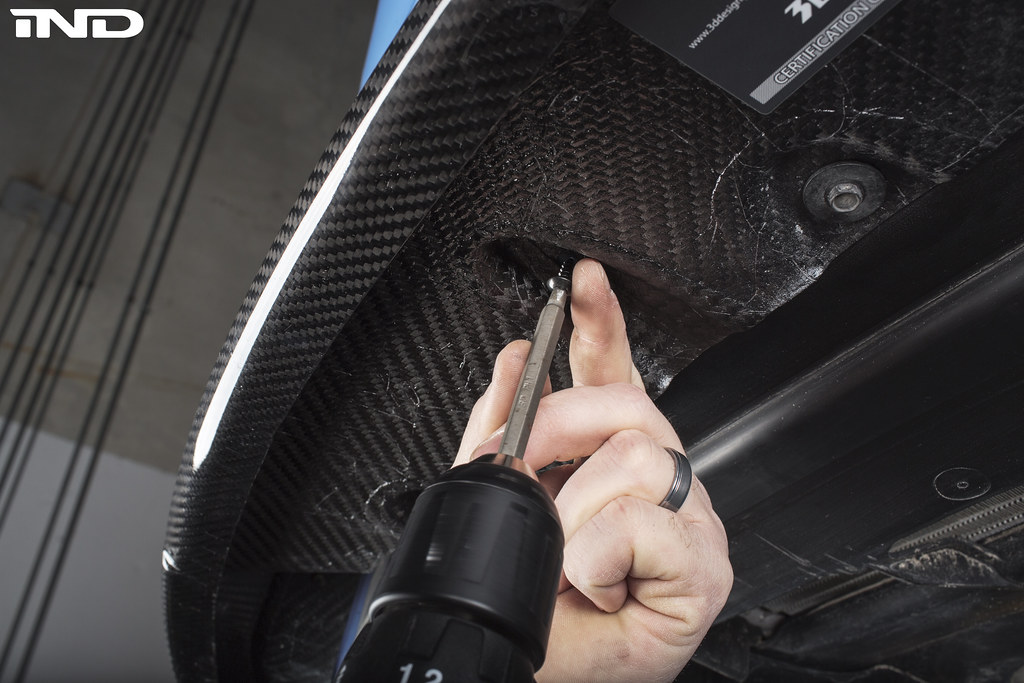  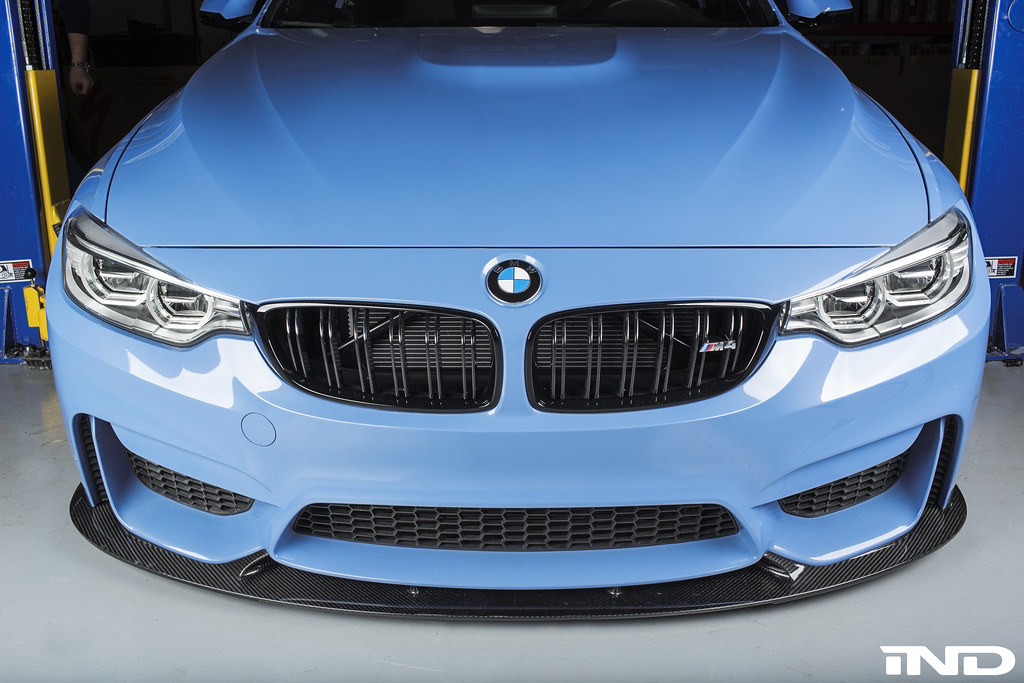
__________________
|
Post Reply |
| Bookmarks |
|
|


