

|
|
|
|
|
| 05-06-2017, 10:33 AM | #1 |
|
Private First Class
 134
Rep 170
Posts |
Stett Performance Stainless Vacuum Canister Install
I needed my weekly fix of tinkering under the hood of my 135, so I took a few minutes to install a set of Stett Performance Stainless Vacuum Canisters and this is a quick overview of the install.
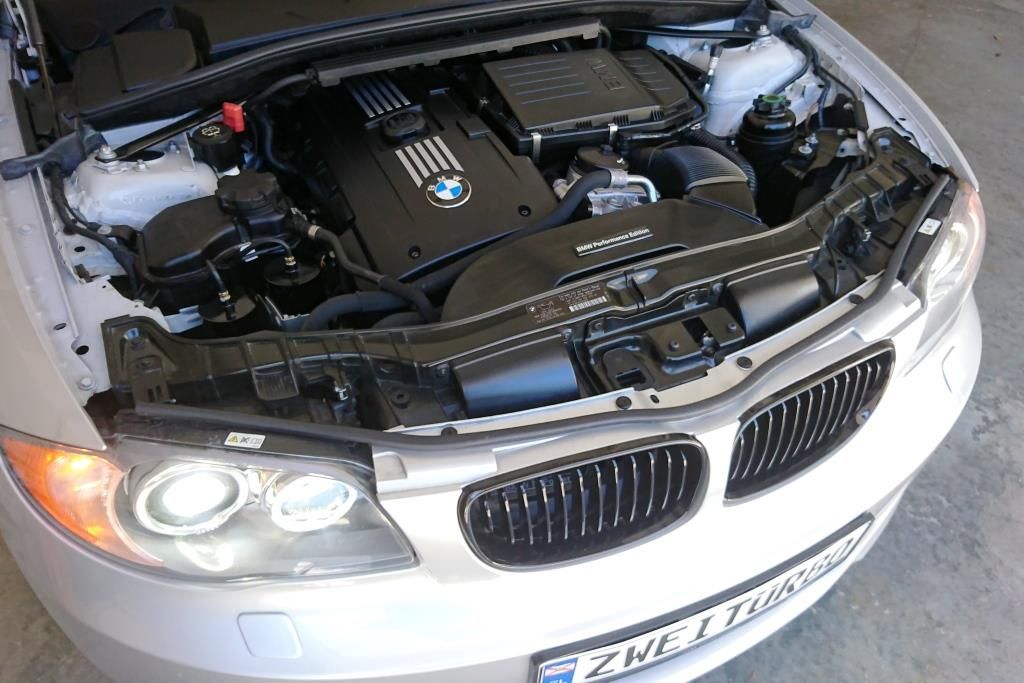 In an attempt to update and replace various parts which Ive read have a higher likelihood to fail than others, increase reliability and admittedly make things look better under my hood. I have been slowly making upgrades to my now 7 year old 135i. Currently she has 64,000 miles and having ordered the STETT Performance Stainless Vacuum canister almost two months ago, I figured it was time to install them. Not finding a whole lot of instructions on the web, I figured I would do a quick write-up. The OEM Vacuum canisters are all plastic and are prone to cracking overtime, mine are still in good shape but this is a project of preventative maintenance. 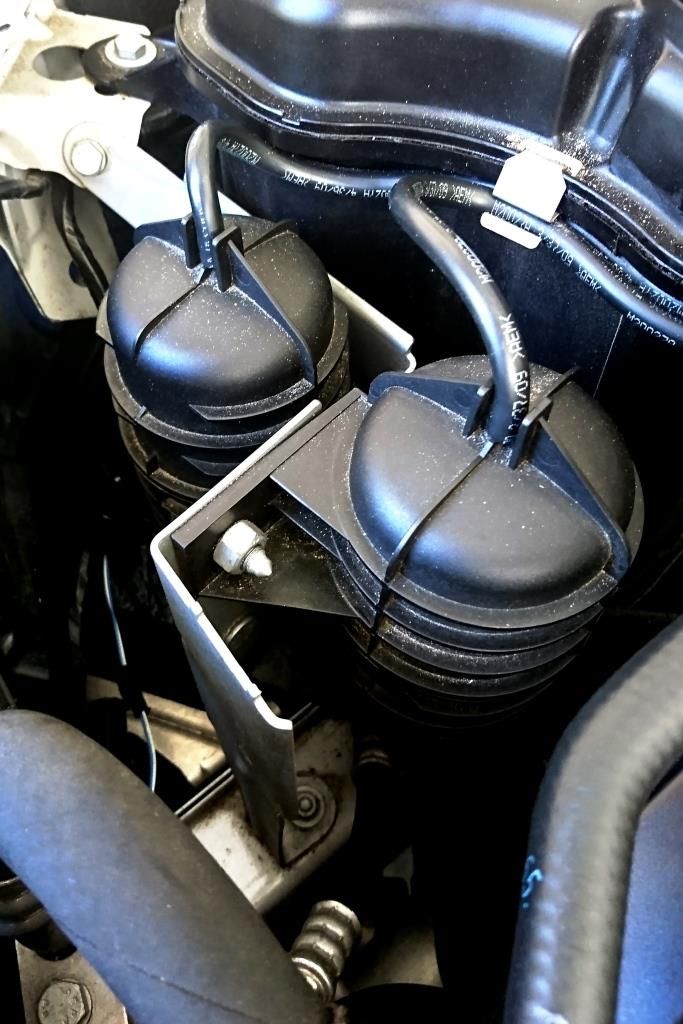 The first thing to do is remove the mounting bracket and old canisters from the car. The bracket is held in place on the left side by a single 10mm bolt. 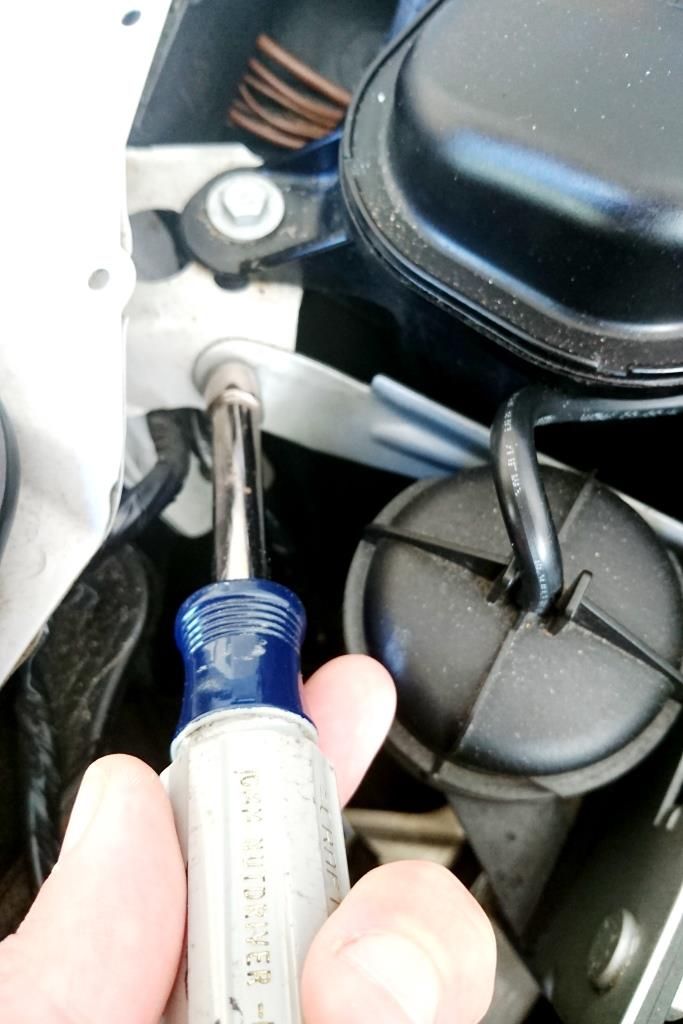 At the bottom of the bracket attached to the frame of the car are two additional 10mm nuts. They are hard to get to, but using an extension you can make easy work out of their removal. I also keep a magnet wand as I call it handy for jobs like this. By telescoping the magnet down to the screw and removing it, you can ensure you dont make more work for yourself by having to remove the belly pan when you drop the screws. 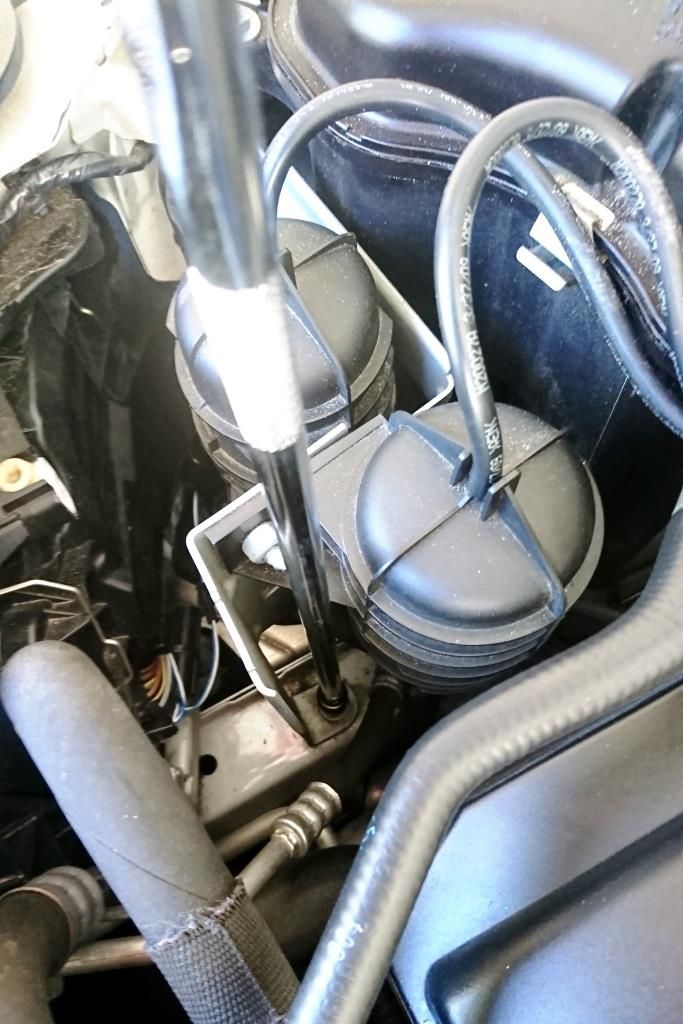 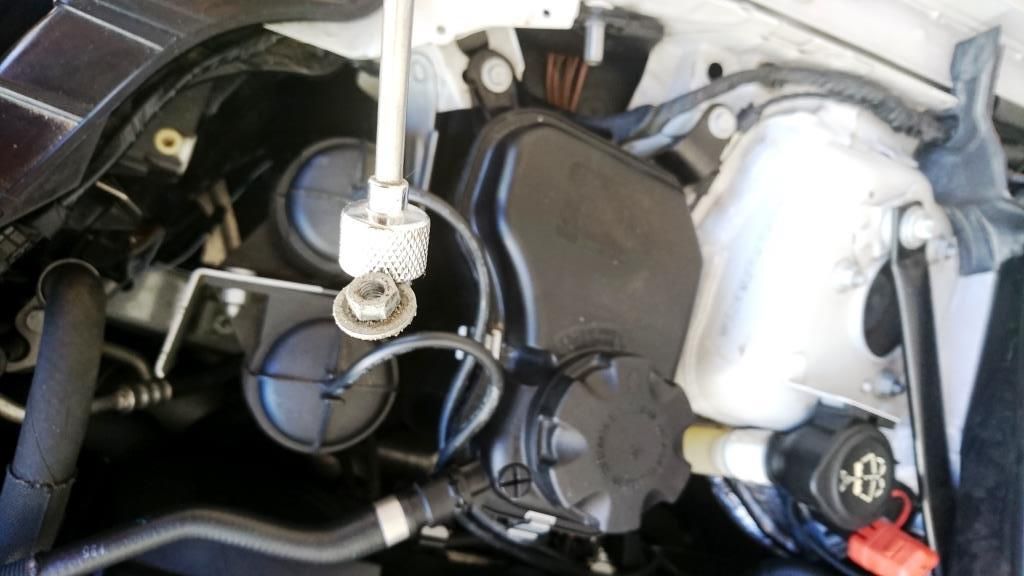 Once the canisters are removed you can see how they are mounted. Note one sits higher than the other. They are held to the bracket with 14mm bolts. 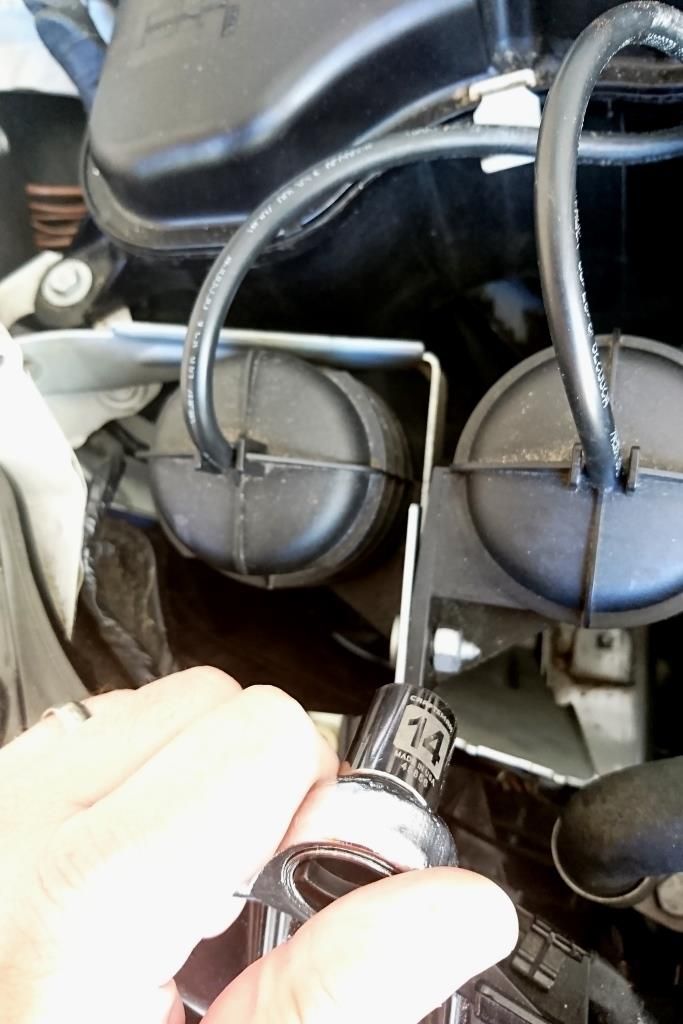 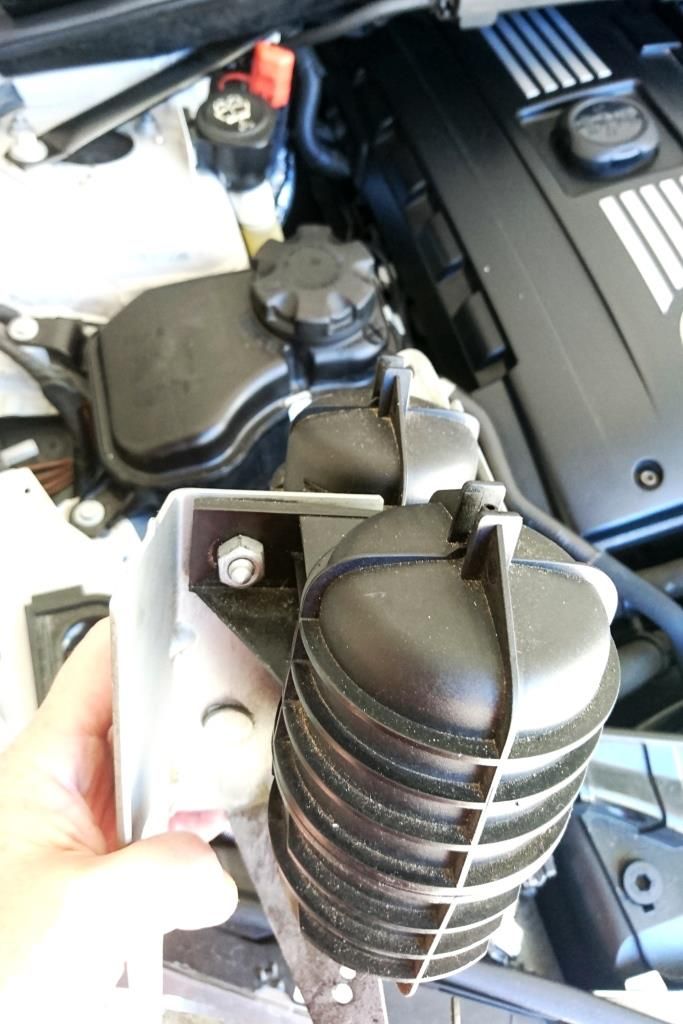 Mount the new STETT canisters using the OEM bolts. 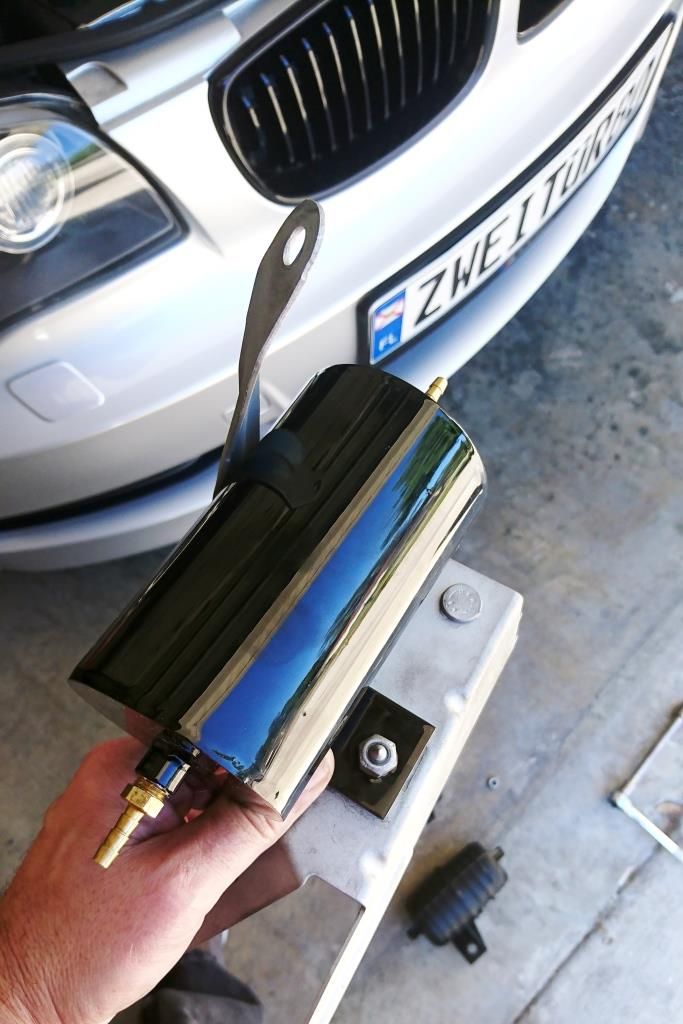 Once mounted to the bracket you can reinstall everything with the new canisters mounted on the bracket in reverse order from how you took everything out. 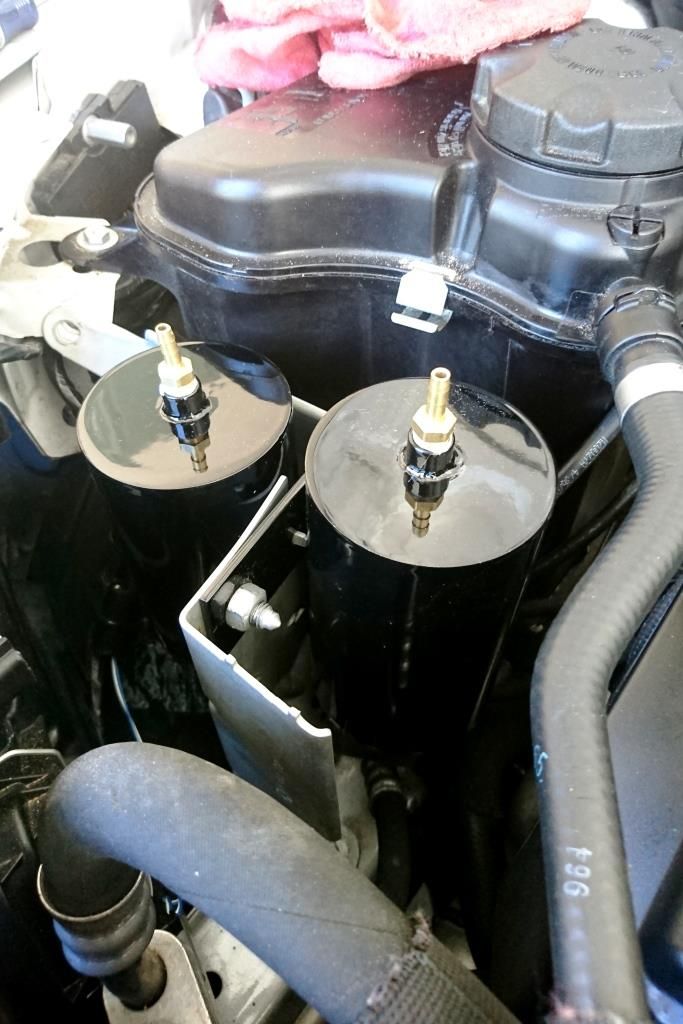 Once they are in, reattach the vacuum hoses and you are done. 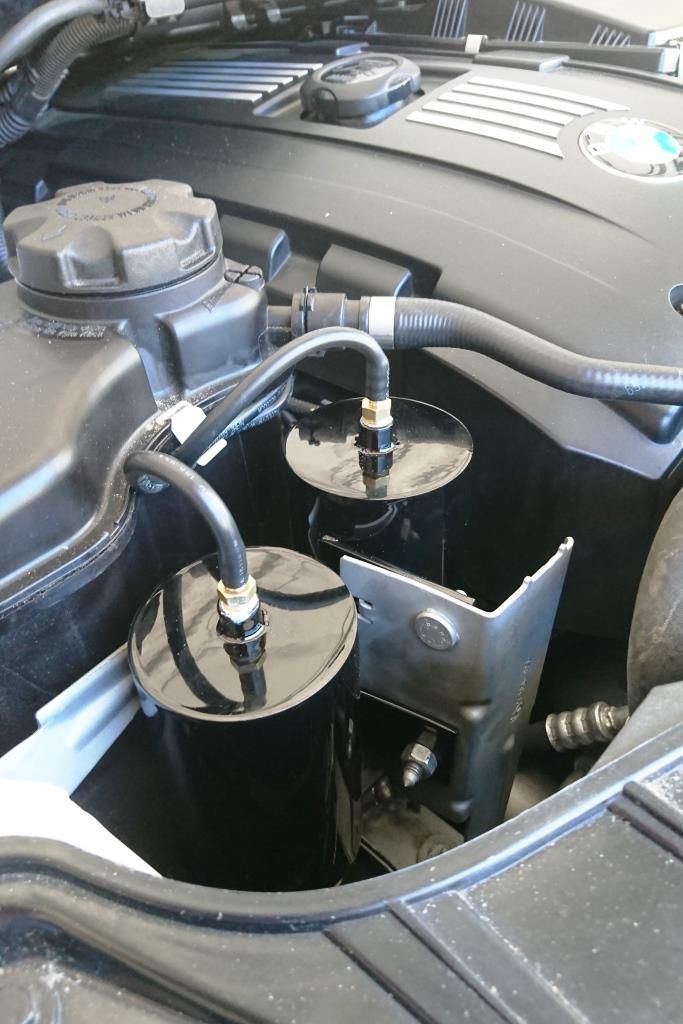 All in all a pretty simple upgrade and it looks really nice once done. I plan on upgrading all my vacuum lines and other parts when I have time, but for now this is out of the way. As for the STETT Performance Stainless Steel Vacuum canisters, they are solidly built. While it took a little longer for me to get than I would have hoped, Chad Stett was honest and communicated with me the entire time. I would recommend these if you are worried about the longevity of the stock canisters or want to clean up your engine bay. My only gripe is the use of copper hose connectors instead of something more stealth like black. I am hoping I can track down replacement connectors at some point in black to clean up the install, but all-in-all I am very happy with this upgrade.  |
Post Reply |
| Bookmarks |
|
|


